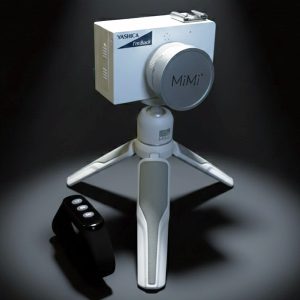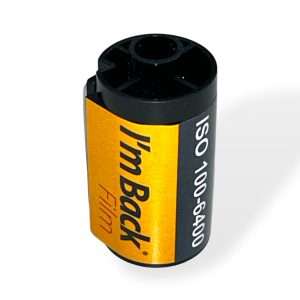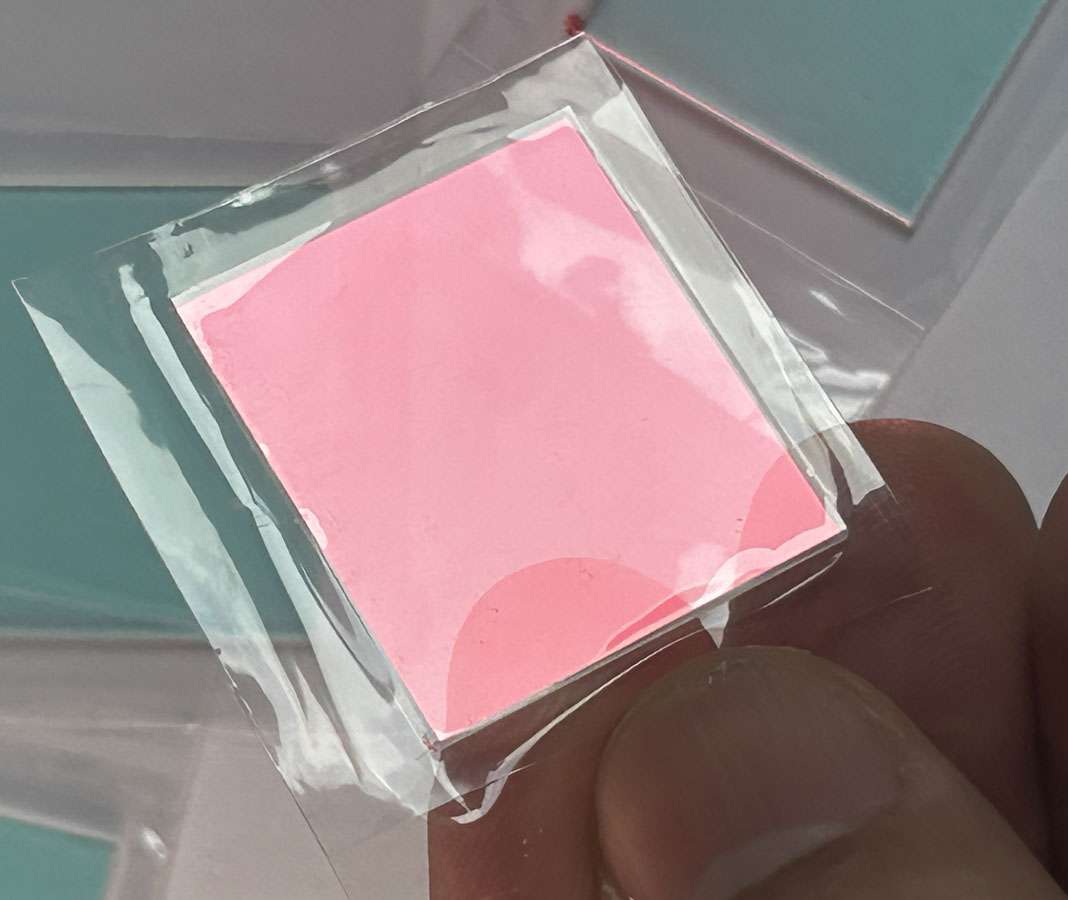
1 IR glass filter for I'm Back film – Essential for Your Device!
Claro! Aqui estão os dois textos em inglês, prontos para uso em sua loja online ou material promocional:
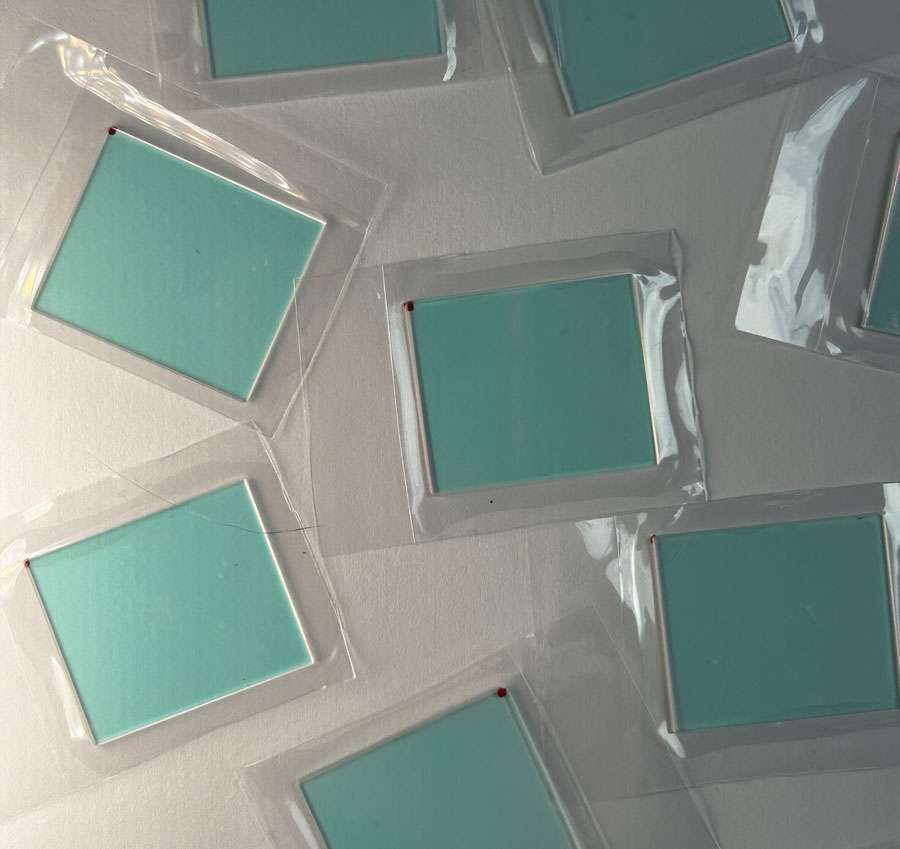
🛡️ IR Filter Replacement – Keep Your i’m Back Film Protected!
Now available: the original replacement IR filter for your i’m Back Film!
If you’re the kind of user who doesn’t want to take chances, this is the perfect time to grab a spare filter. Having an extra protective IR filter means you’ll never be left without your device in case of accidental scratches, cracks, or breakage.
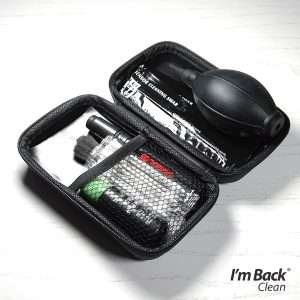
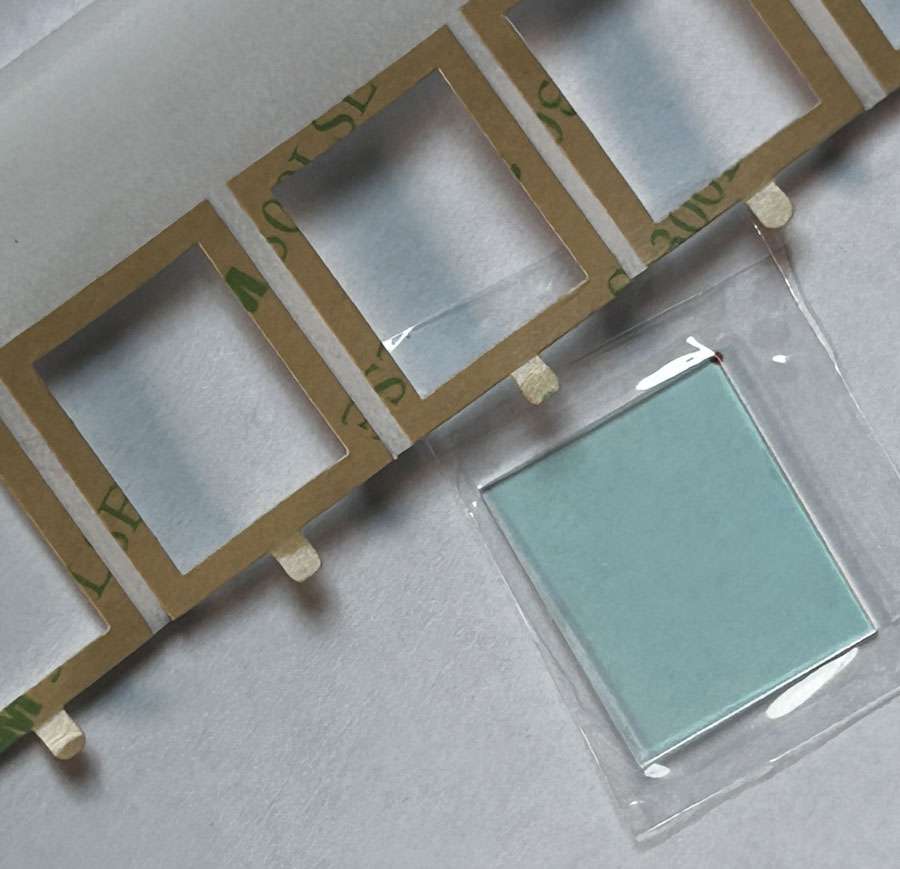
🧰 Package includes:
1 high-quality IR filter
1 special 3M adhesive for secure attachment to the sensor
💡 Pro Tip: Always carry a backup IR filter with your gear. It’s a small safety step that ensures your i’m Back Film keeps running flawlessly even after unexpected mishaps.
🛠️ How to Remove and Replace a Damaged IR Filter
Replacing a damaged IR filter is totally doable if done with care. Here’s how:
1. Soften the adhesive:
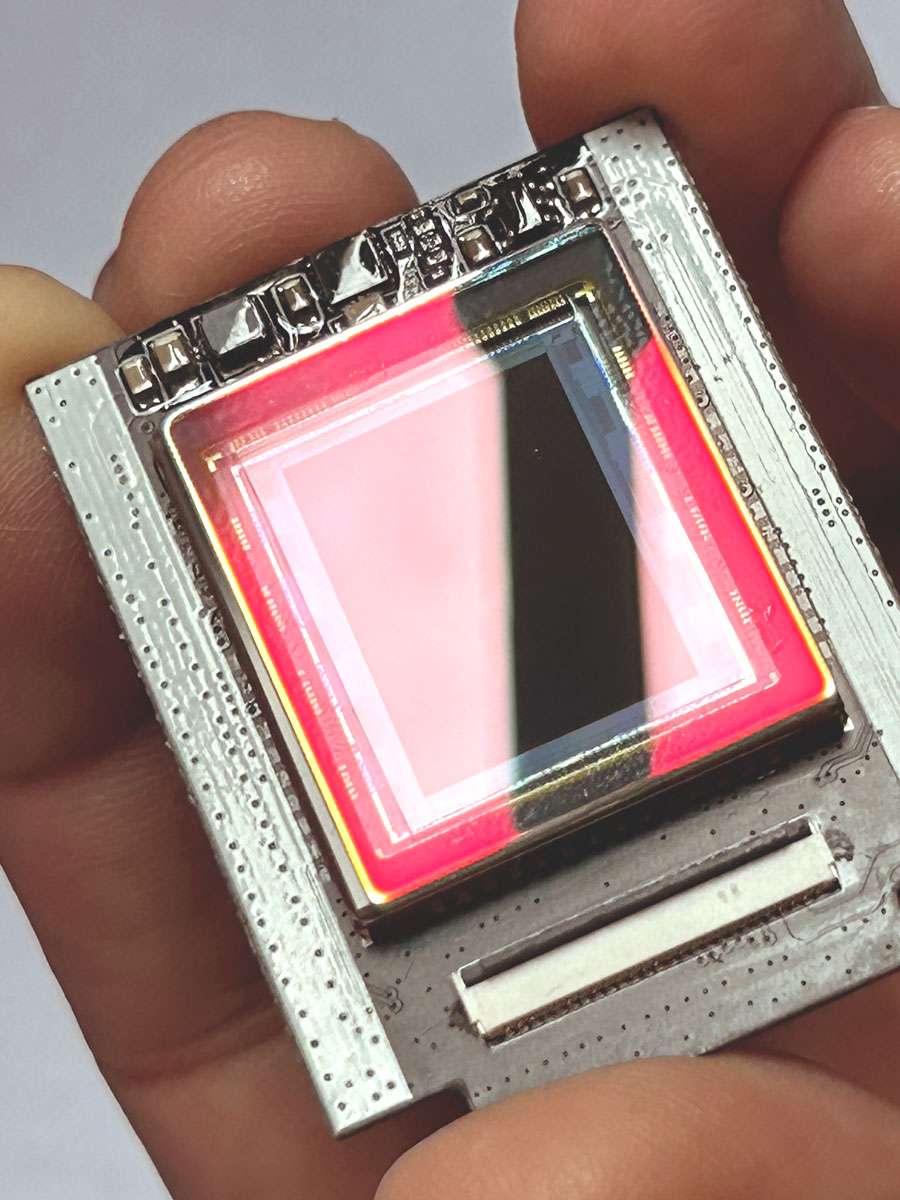
The adhesive used is strong. Before attempting to remove the damaged filter, gently heat the sensor area using a manual hot air gun (such as a hair dryer or rework station). This will loosen the glue and make removal easier.
2. Carefully remove the old filter:
After heating, use a thin blade or plastic tool (like a hobby knife or spudger) to gently lift the filter from the edges.
Be very careful not to scratch the sensor surface.
💡 Extra tip: If the glass is cracked, use a strong adhesive tape to stick on top of the filter and pull it off more safely.
3. Apply the new filter:
Thoroughly clean the sensor surface. Then align and apply the new IR filter using the included 3M adhesive. Press gently to ensure proper and lasting adhesion.
Se quiser, posso montar esse conteúdo em um arquivo PDF formatado profissionalmente. Deseja isso?