I’m Back MF step-by-step quick start guide

1- Take your camera
preferred analogue.
2- Remove the film magazine.
3- Insert the adapter dedicated to yours
camera instead of the film magazine.
4- Leave the device button pressed
“J” and swipe the device from top to bottom
and finally release the “J” button.
5- Insert the micro SD card.
6- Turn on I’m Back® MF by pressing the
“E” key for 4 seconds.
7- Choose the format of your camera
by clicking the corresponding icon on the
display and format the SD by clicking
on the “gears” icon and then on “Format”.
8- Return to HOME mode
“manual”, sets the focus e
adjusts the speed as well as the aperture.
9- To take a photo, first is
necessary to press button “C” (OK).
10- Click immediately after the button
camera (you have 1 second available).
If you take longer the photo will not come out. For
see the picture taken, click and hold
the “Play” function appears on the display.
11- To activate the WIFI use the menu of
device and find the item WIFI and press the “ON” function.
12- Download and install the I’m Back® APP on your smartphone.
13- Connect your smartphone to the connection WIFI and enter the password: “12345678”.
14- Open the I’m Back® APP and click on
“Camera”, put the analog camera. in “B” or “T” mode so that the mechanical shutter is always open. This way you can. view images directly on your smartphone.
15- Remove the micro SD card for transfer the data to the computer, or connect I’m Back® MF via the data cable USB or in ne via the I’m Back® APP.
16- You can take photos in mode
manual (using the shutter of your old camera), or in mode automatic, using the shutter I’m Back® MF Electronic. Double click on the “M” button to switch modes manual to automatic. To snap a photo or make a video, release the shutter open mechanic and use the “OK” button to registrar and use the display to view and focus the images.
I'm BackMF - Answer the main questions:
How to mount your I’m Back MF adapter on your Hasselblad/Kiev88.
1- Remove the magazine from your Hasselblad.
2- Press the button on your adapter and fit it to your camera
3- Due to the fact that the surface has an extract of felt, it will have to be fitted with a little force, and for that, just after fitting a small blow from the back part to lock it
4- Once that’s done, fit the I’m Back MF device by pressing the button on the left, aligning the half and sliding it downwards.
5- Once fitted, adjust the focus of the device by turning the black disk positioned on top of the device until your image is in focus exactly like the one you see on your viewfinder at the top of the camera.
6- Activate the device and if you want to use it in automatic mode, set your Hasselblad (or T) to B, then use the display to focus and use the OK button to take the photos.
I'm BackMF - Answer the main questions:
Have you received your I’m Back MF and are having out of focus photos?
This is because you have not adjusted the focus of the I’m Back MF Lens. See how to do it!
I'm BackMF/35 - Answer the main questions:
SD CARD ERROR message when clicking any button? Format sd card.
Format the new SD card into the I’M BACK DEVICE. Do NOT use your computer for formatting.
RAW photos not opening in I’m Back?
You can make facts and save in 4 different modes;
1- color JPEG
2- Black and withe JPEG
3- Sepia JPEG
4- RAW
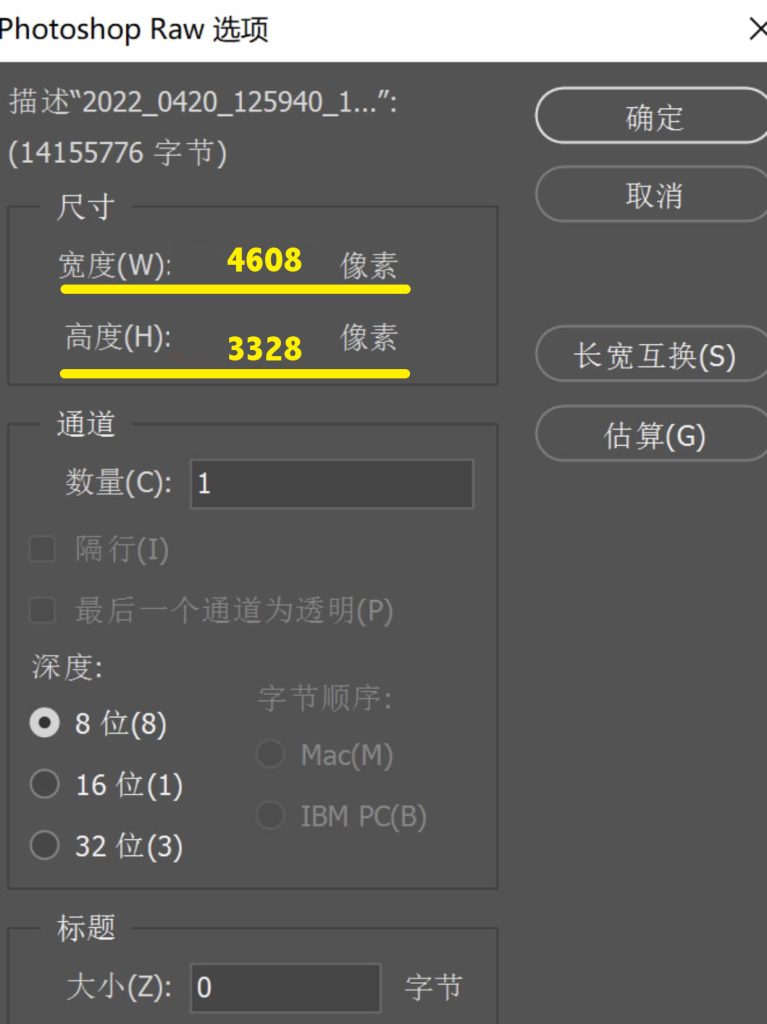
RAW – Pay attention; the pictures saved isn’t possible open into your device, because the file is too big. For this, open in your photoshop. Important; put this parameters for file dimensions;W 4608 x h 3328 (for I’m Back 35)
.RAW to .DNG:
DNG Converter transforms I’m Back35 and MF RAW files into DNG (Adobe Digital Negative). DNG files can be imported and processed in a clean room with all software products such as Camera Raw of Photoshop (but also free or free such as RawTherapee, Krita, Darktable, or ART) to demosaise the file produced by the sensor with the algorithms in use programs, adjust the colors and improve the image before moving on to post-production (remaining on the subject of free software, Gimp, Krita, etc.).
For upload you RAW filke and transform in DNG file click here:
The ISO adjust function works in AUTOMATIC mode only.
ISO 100
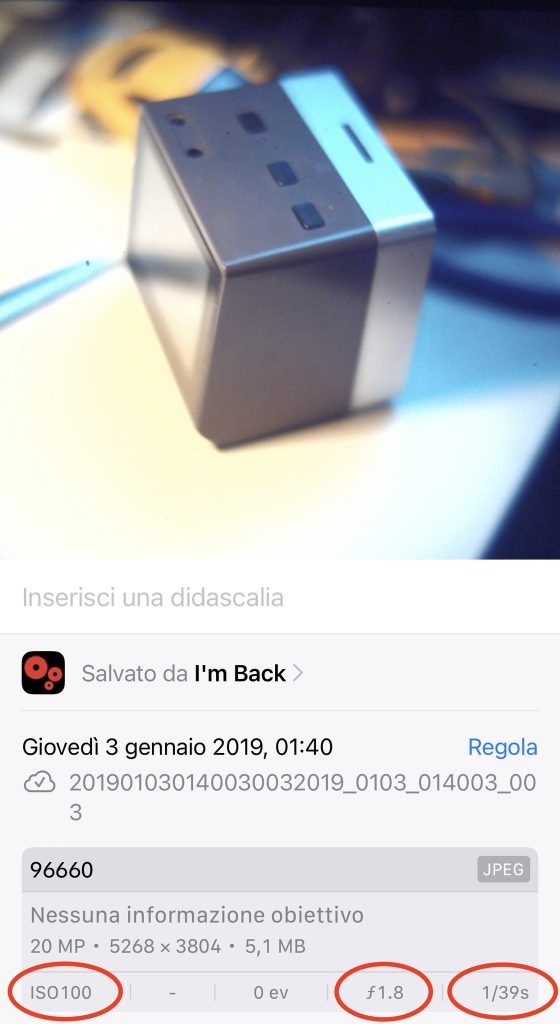
ISO 1600